
Contact Info
- Greensboro, NC 27406
- Call: 336-707-0498
- Text: 336-707-0498
-
Mon - Fri: 8am - 4pm
Sat - Sun: Closed
Contact Info
Winter in North Carolina demands more from your crawl space than you might think. Learn how to inspect, prepare, and protect your home's foundation before cold weather arrives.
Your floors shouldn’t feel like ice in January. Your heating bill shouldn’t spike every time the temperature drops. And that musty smell creeping into your living room? That’s not normal either.
These are signs your crawl space isn’t ready for winter. In Guilford County, NC, where we average 45 inches of rain a year and deal with temperature swings that can hit 30 degrees in a single day, your crawl space takes a beating. What works in summer stops working when cold air settles in and moisture has nowhere to go.
Fall is when you catch problems before they cost you money. Here’s what you need to check, what you need to know, and when it makes sense to bring in someone who does this for a living.
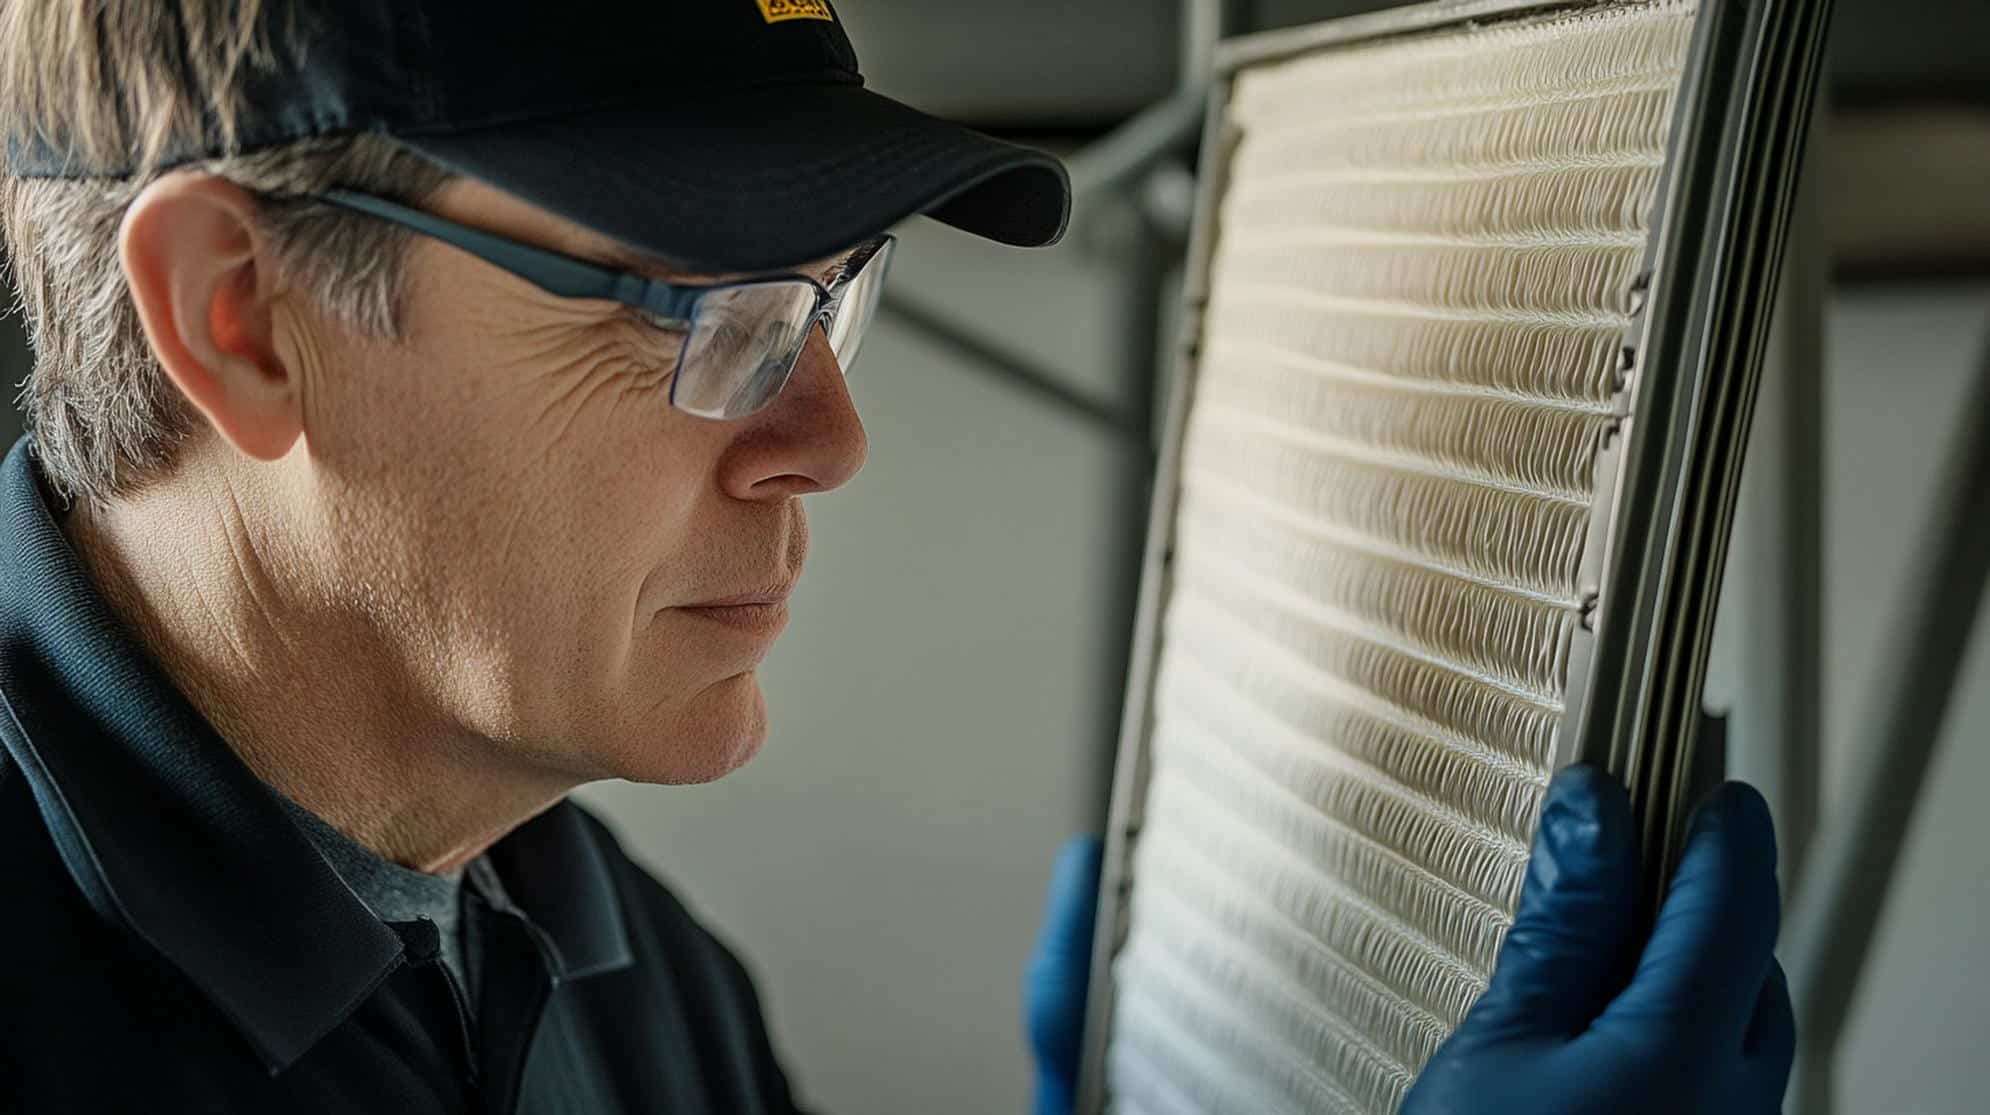
Before winter shows up, you need to know what’s actually happening under your house. Not a quick glance with a flashlight—a real look at the systems that keep your crawl space dry, insulated, and functional.
Start with moisture. Look for standing water, damp soil, or condensation on pipes and ductwork. North Carolina’s humid climate means moisture doesn’t just show up during storms. It’s there year-round, and winter makes it worse when warm indoor air meets cold surfaces below.
Check your existing crawl space insulation next. If you’ve got fiberglass batts between the floor joists, look closely. Are they sagging? Falling down? Wet or compressed? Fiberglass absorbs moisture like a sponge, and once it’s damp, it stops insulating. It just sits there holding water against your subfloor, creating the perfect environment for mold and rot.
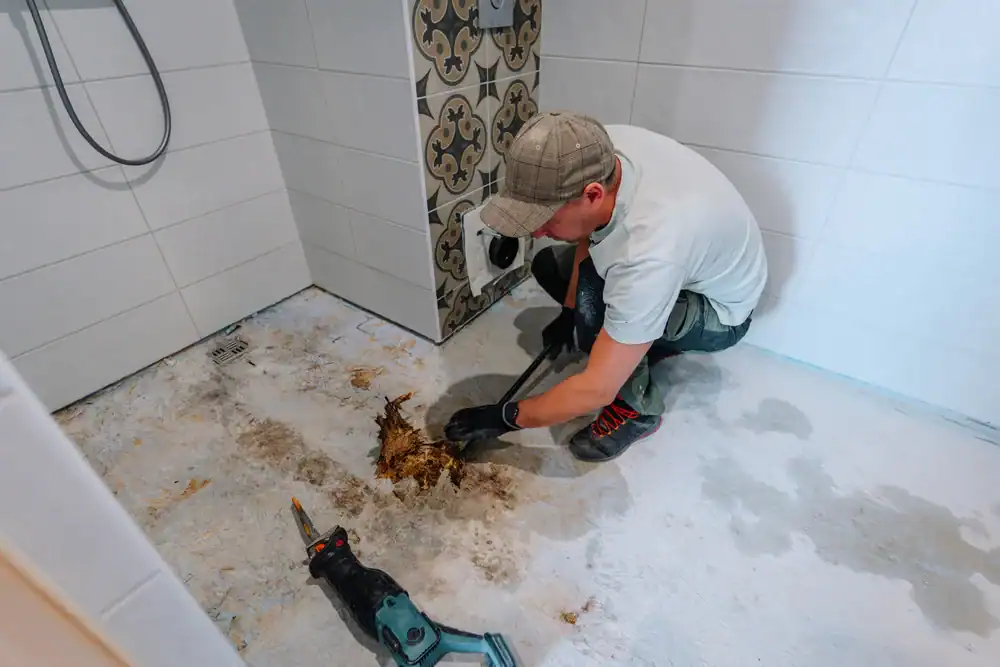
Walk through your crawl space with intention. Bring a flashlight, a hygrometer if you have one, and take notes. You’re looking for specific problems that get worse when temperatures drop.
Start at the foundation walls. Run your hand along the concrete or block. Is it damp? Cold? Check for cracks or gaps where outside air is getting in. Even small openings let in cold drafts that make your HVAC system work harder and your floors feel colder.
Move to the vapor barrier if you have one. It should be a continuous sheet of heavy plastic covering the entire dirt floor, sealed at the seams and attached to the walls. Tears, gaps, or missing sections mean ground moisture is evaporating directly into your crawl space. In winter, that moisture condenses on cold surfaces, soaks into wood, and feeds mold growth.
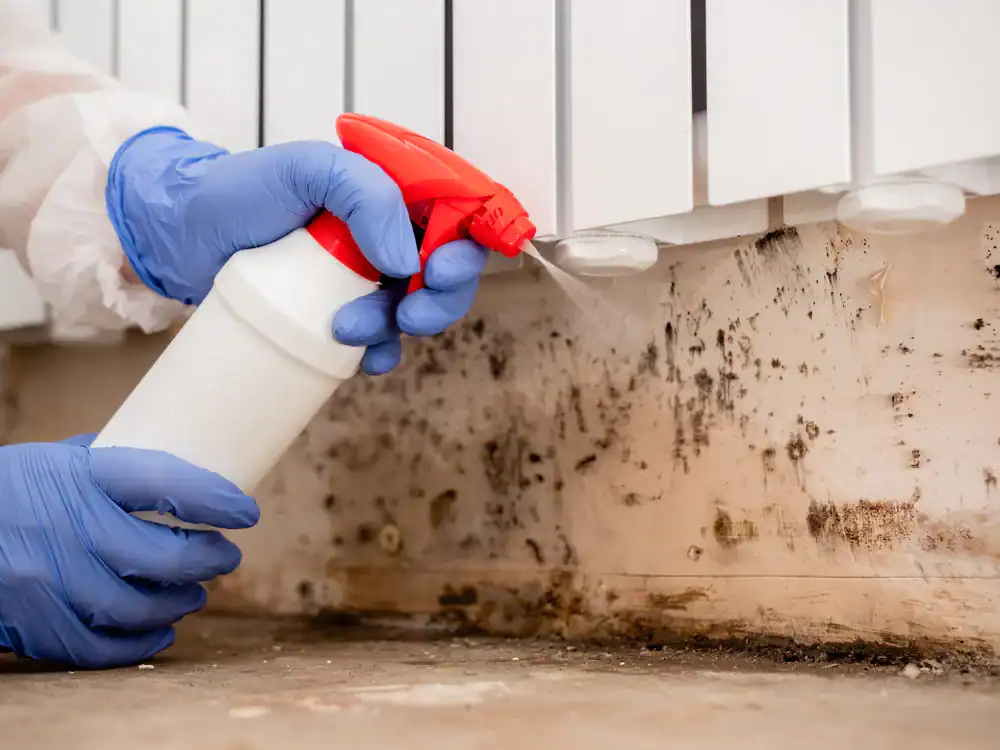
Look up at your floor joists and subfloor. Wood should be dry and firm. If you see dark staining, soft spots, or white fuzzy growth, you’re dealing with moisture damage that’s already happening. Winter will accelerate it.
Check your crawl space vents. Old advice said to open them in summer and close them in winter. New building science says that’s backwards for humid climates like ours. Open vents in a North Carolina winter let in cold, damp air that condenses inside your crawl space. That’s the opposite of what you want.
Inspect any ductwork running through the space. Leaking ducts waste conditioned air and create temperature differentials that cause condensation. If you see dust streaks, gaps in connections, or torn flex duct, that’s energy and money disappearing before it reaches your living space.
Finally, look for signs of pests. Rodents love crawl spaces in winter because they’re warmer than outside and full of insulation to nest in. Droppings, torn insulation, or chewed vapor barrier means you’ve got visitors who are making your problems worse.
Your crawl space tells you what it needs if you know what to look for. Most of these issues are fixable, but they don’t fix themselves, and winter makes everything harder to address.
Not all insulation works the same way in a crawl space, and what was installed when your house was built might not be doing its job anymore.
Fiberglass batts are the most common insulation we see in Guilford County, NC crawl spaces. They were cheap, easy to install, and met code requirements at the time. The problem is they don’t handle moisture well. When humid air passes through fiberglass, it absorbs water, gets heavy, and eventually falls out of the joist bays onto the crawl space floor. Even when it stays in place, it doesn’t create an air seal, so cold air still moves freely between your crawl space and your living space.
If your crawl space has spray foam insulation, check whether it’s open-cell or closed-cell. Closed-cell foam creates both an air barrier and a vapor barrier, which is what you want. Open-cell foam insulates but doesn’t stop moisture, so it needs to be paired with a separate vapor barrier to work properly. Look for gaps, cracks, or areas where the foam has pulled away from the wood. Spray foam is durable, but installation quality matters.
Rigid foam board on the walls is another option. It works well if it’s installed correctly—sealed at all seams, attached firmly to the foundation, and paired with a proper vapor barrier on the floor. Gaps between panels or around the perimeter let air and moisture through, which defeats the purpose.
Some homes have no insulation at all. If that’s your situation, you’re losing heat through your floors all winter, and your HVAC system is working overtime to compensate. The good news is you’re starting from a clean slate, which makes it easier to do it right the first time.
The key question isn’t just what type of insulation you have—it’s whether that insulation is still performing. Wet insulation, damaged insulation, or poorly installed insulation costs you money every month. It also creates conditions for mold, pests, and structural damage that get exponentially more expensive to fix.
Winter is when you find out whether your insulation actually works. Cold floors, high heating bills, and drafts near the baseboards are all signs it doesn’t. The good news is fall gives you time to address it before the coldest months hit.
Want live answers?
Connect with a Clean Air LLC expert for fast, friendly support.
Winterizing your crawl space isn’t about one single fix. It’s a system—moisture control, insulation, air sealing, and ventilation all working together. Miss one piece and the whole thing falls apart.
Start with moisture because nothing else matters if your crawl space is wet. Water is the enemy of insulation, wood, and air quality. In Guilford County, NC, where we get rain year-round and humidity stays high even in winter, moisture control is the foundation everything else builds on.
Install or repair your vapor barrier first. You need a minimum 6-mil polyethylene sheet, though thicker is better. It should cover every inch of exposed dirt, overlap at the seams by at least 12 inches, and extend up the foundation walls. Seal the seams with tape designed for vapor barriers, and attach the edges to the walls with mechanical fasteners. This stops ground moisture from evaporating into your crawl space.
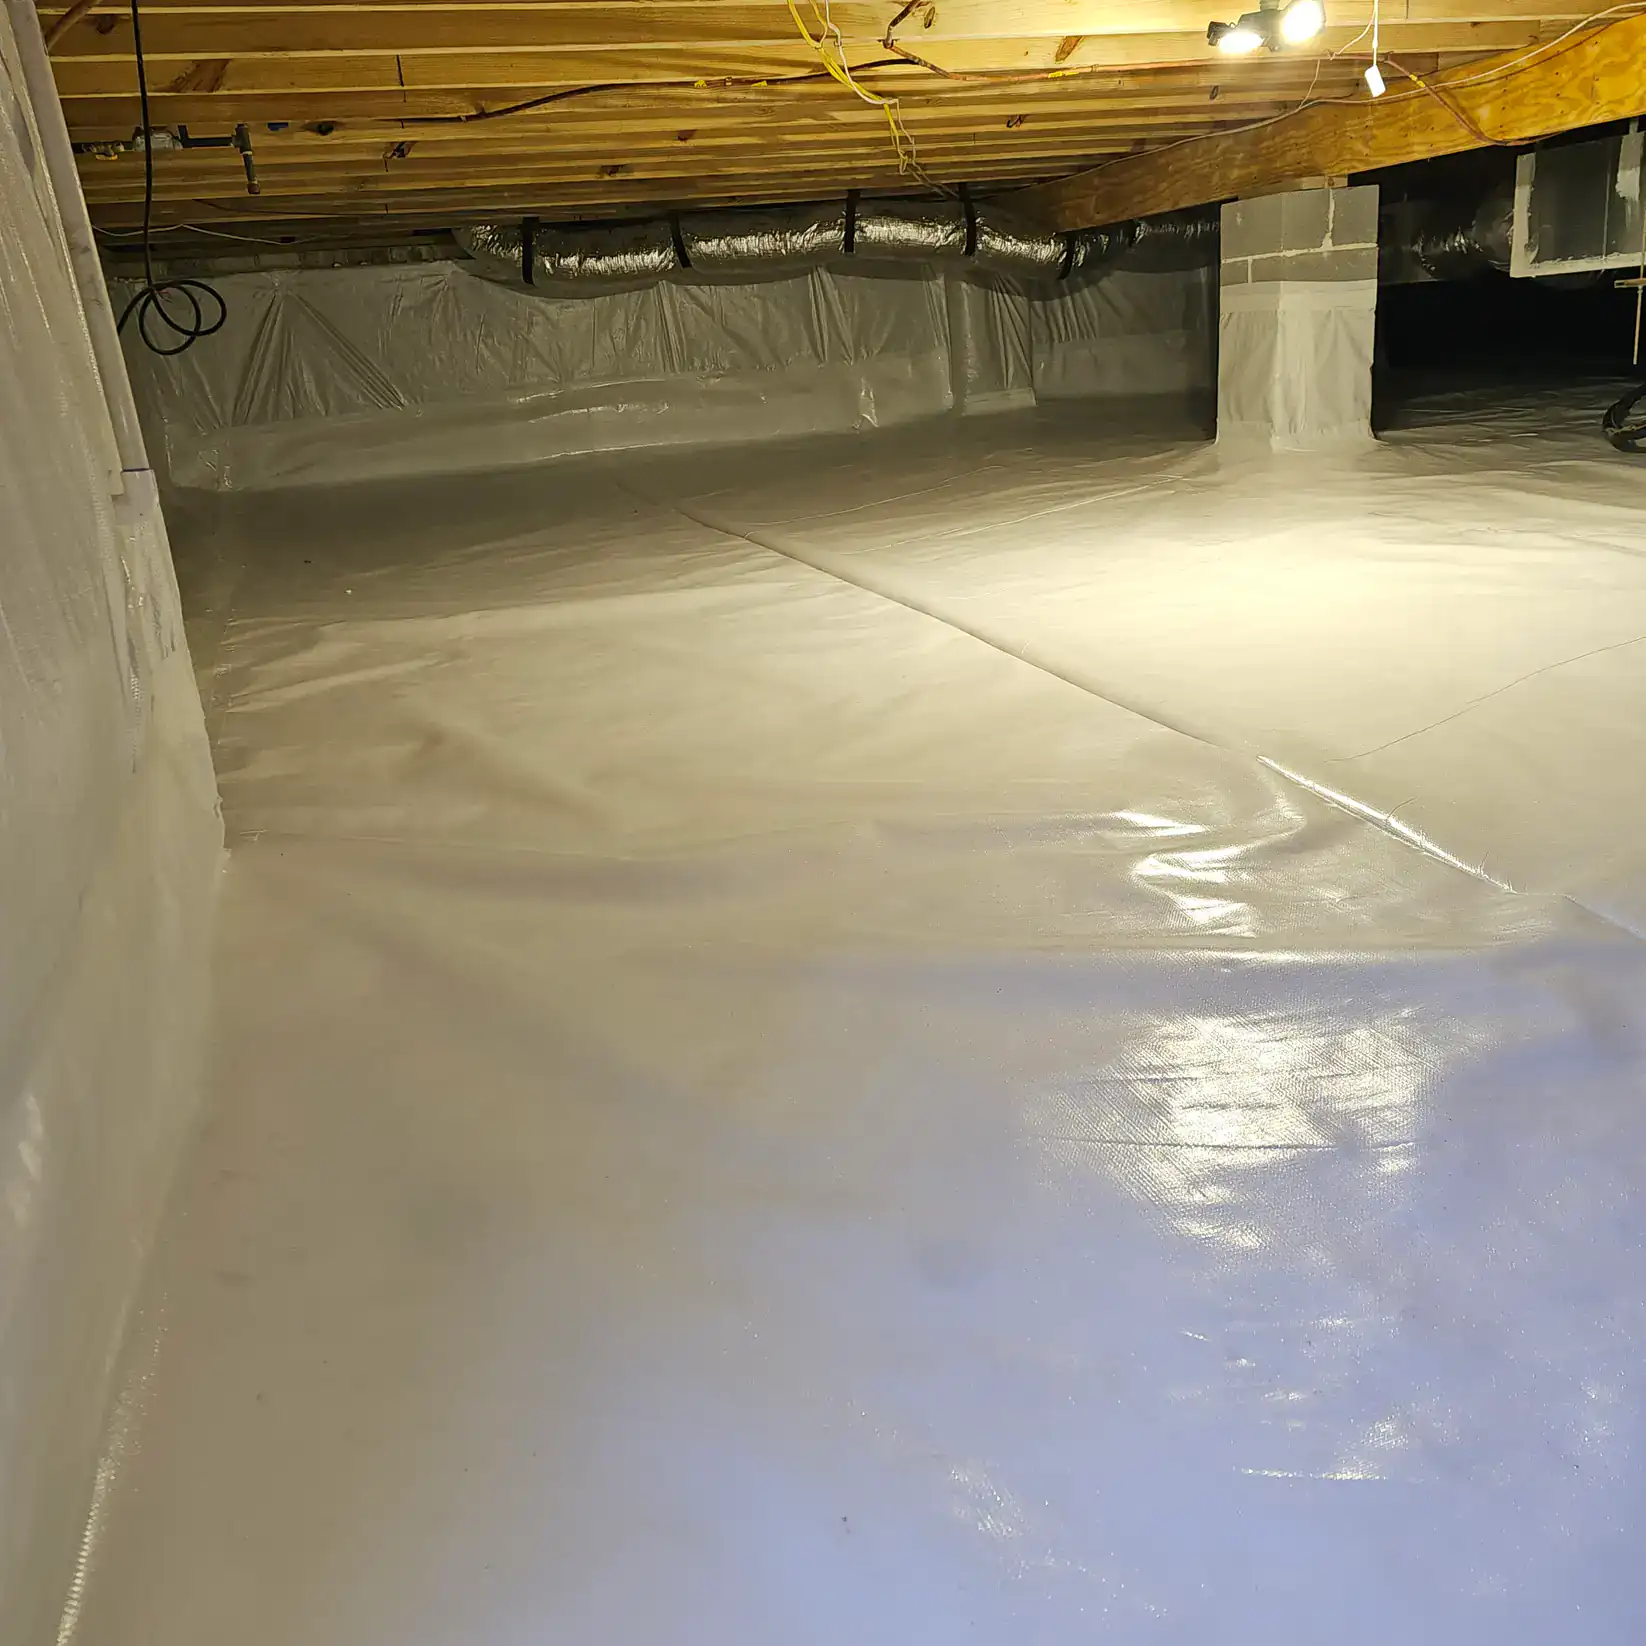
Moisture doesn’t take a break in winter. In fact, it gets worse. When warm air from your heated home meets cold surfaces in your crawl space, condensation forms. That condensation soaks into wood, saturates insulation, and creates perfect conditions for mold.
Seal your crawl space vents if they’re still open. This is counterintuitive for a lot of homeowners because they grew up hearing that crawl spaces need ventilation. But building science has proven that vented crawl spaces in humid climates like North Carolina actually create more moisture problems than they solve. Cold, damp outside air flows in through the vents, meets warmer air inside the crawl space, and condensation forms on every cold surface it touches.
Closing and sealing the vents turns your crawl space into a conditioned space—part of your home’s thermal envelope instead of an outdoor area underneath it. This keeps temperatures more stable, reduces moisture, and makes your insulation work the way it’s supposed to.
If you have standing water or chronic dampness, you need drainage before anything else. A sump pump with an interior drainage system collects water and pumps it away from your foundation. Without proper drainage, even the best insulation and vapor barrier will fail because water will find a way in.
Consider a crawl space dehumidifier if humidity stays above 50 percent even after you’ve sealed vents and installed a vapor barrier. Dehumidifiers designed for crawl spaces are different from the portable units you use in a bedroom. They’re built to handle larger spaces, operate in colder temperatures, and run continuously without needing to be emptied. They pull moisture out of the air before it can condense on surfaces or soak into materials.
Check your gutters and downspouts too. If water from your roof is dumping right next to your foundation, it’s seeping into your crawl space. Extend downspouts at least six feet away from the house, and make sure the ground slopes away from your foundation. Simple grading fixes prevent a lot of expensive crawl space problems.
Moisture control isn’t glamorous, but it’s the difference between a crawl space that protects your home and one that slowly destroys it. Every dollar you spend on moisture control saves you ten dollars on mold remediation, wood repair, and insulation replacement down the road.
Your insulation and vapor barrier work as a team. One without the other leaves gaps that cold air and moisture exploit all winter long.
If you’re insulating a crawl space in North Carolina, you have three main options: spray foam, rigid foam board, or crawl space encapsulation with wall insulation. Each has pros and cons depending on your specific situation.
Spray foam insulation creates an air seal and vapor barrier in one application. Closed-cell spray foam is the gold standard for crawl spaces because it doesn’t absorb water, blocks air infiltration completely, and has a high R-value per inch. It’s more expensive upfront, but it solves multiple problems at once and lasts for decades. The catch is it needs to be installed by professionals with the right equipment and training. DIY spray foam kits don’t provide the same coverage or performance.
Rigid foam board is a more budget-friendly option if your crawl space walls are relatively flat and you’re comfortable doing some of the work yourself. You install it on the foundation walls, seal all the seams with tape or caulk, and pair it with a vapor barrier on the floor. It works well when installed correctly, but any gaps or poorly sealed seams let air and moisture through. It also doesn’t insulate the rim joist area unless you cut custom pieces to fit, which is time-consuming and requires precision.
Full crawl space encapsulation involves sealing the entire crawl space—walls, floor, and rim joists—with a combination of rigid foam or spray foam insulation and a heavy-duty vapor barrier. This is the most comprehensive approach and delivers the best long-term results for moisture control, energy efficiency, and indoor air quality. It’s also the most expensive option, which is why some homeowners phase it in over time, starting with the vapor barrier and adding insulation later.
No matter which route you go, the rim joist area is critical. This is where your foundation meets your floor framing, and it’s one of the biggest sources of air leakage in any home. Cold air flows in, warm air flows out, and your HVAC system runs constantly trying to keep up. Insulating the rim joist with spray foam or cut-to-fit rigid foam stops that air movement and makes a noticeable difference in comfort and energy bills.
Don’t forget about the crawl space access door. An uninsulated, unsealed door is like leaving a window open all winter. Insulate it to at least R-10, weatherstrip the edges, and make sure it latches tightly. Small details like this add up to big improvements in performance.
The right insulation strategy depends on your budget, your crawl space condition, and how long you plan to stay in your home. But the wrong strategy—or no strategy at all—costs you money every single month and creates problems that compound over time.
Some crawl space work is straightforward. Sealing vents, extending downspouts, and checking for obvious moisture issues are things most homeowners can handle. But knowing when to call in professionals saves you from expensive mistakes and wasted effort.
If you see mold growth, standing water, or structural damage, don’t try to DIY it. Mold remediation requires specialized equipment, safety protocols, and proper containment to avoid spreading spores throughout your home. Structural issues need engineering assessment and repairs that meet building codes. Standing water means you have drainage problems that need to be diagnosed and fixed at the source.
Professional insulation installation makes sense when you’re dealing with spray foam or full crawl space encapsulation. The equipment costs thousands of dollars, the materials require specific training to apply correctly, and mistakes are expensive to fix. A professional crew can insulate your crawl space in a day or two and guarantee the work. DIY projects often take weeks, cost more than expected, and don’t perform as well because the details matter more than most people realize.
If your energy bills are high, your floors are cold, or you smell mustiness in your home, a professional inspection tells you exactly what’s wrong and what it’ll cost to fix. We’ve been serving Greensboro and Guilford County, NC homes for over 30 years. We know the specific challenges of North Carolina crawl spaces, and we offer free inspections so you can make an informed decision without pressure.
Winter is coming whether your crawl space is ready or not. The question is whether you’re going to spend the next few months fighting cold floors and high heating bills, or whether you’re going to take care of it now while you still have time.
Summary:
Share: